Why Revit Detailing? As important as a good model is in a Building Information Modeling (BIM) workflow, equally important is generating a good set of construction documents, complete with detail drawings. In this webinar we show you how to stop getting lost in redundant details by taking full advantage of the best parts of your model and adding 2D detail components and linework, combined with display modification techniques, to create your construction details.
Learning objectives of the webinar:
At the end of the webinar you will be able to
- Determine what model and what not to model
- Explain what a hybrid detail is
- Modify model geometry to make it suitable for construction documents
- Adding Revit Detail components to you details
Below is a summary of what the webinar entailed:
Creating the Detail
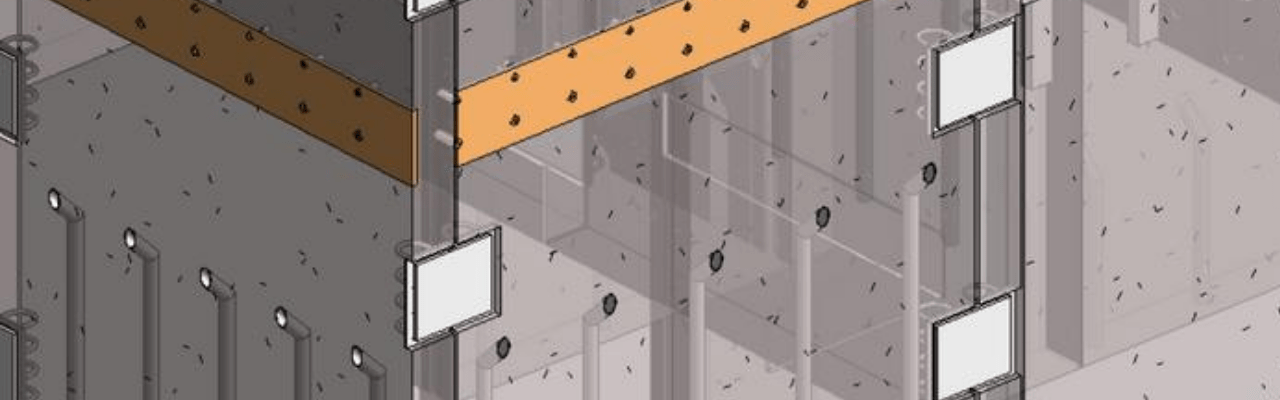
- Model everything and only notate the model, use the model as a place to start and then embellish by adding detail items to the view, create standard details without any reference to the model.
- It is unreasonable to expect to model every element that needs to appear in detail. As an example, it is difficult to model flashing and waterproofing, or welds and washers.
- This then necessitates the use of 2D information as part of the set of construction documents.
Detailing Best Practice
- If the detail is to be 2D yet remain intelligent then a rule of thumb is to not use any lines or text in the detail, instead use detail items (formerly detail components) families, along with tags (either keynote or component tags).
Starting the Detail View
- Since this session will discuss 2D details, the place to start is a Drafting View. A good practice is to create different view types for drafting views to help sort and keep track of details in the project
Placing on sheets
- The last step in the detailing process is to place all of the detail files on a sheet. A detail guide family that has been added to the view will assist in the size and layout and placing it on a sheet.
For more information on the above kindly follow the link for the FULL webinar:
https://attendee.gotowebinar.com/register/3926481754657106433
For any additional information, kindly contact Baker Baynes as we provide Revit software, training and support.


0 Comments